반응형
본 내용은 다음 원문을 정리한 글입니다.
원문링크 : https://docs.duendesoftware.com/identityserver/v7/quickstarts/1_client_credentials/
예제 프로젝트 생성 순서
* 본문의 작성 기준은 .net8을 기준으로 작성되었습니다.
(1) 다음 명령으로 Duende.IdentityServer.Templates를 설치해 줍니다.
dotnet new install Duende.IdentityServer.Templates
(2) 빈 솔루션 하나를 생성해 줍니다.
dotnet new sln -n {솔루션명칭}
(3) 빈 IdentityServer 템플릿을 추가합니다.
dotnet new isempty -n IdentityServer
(4) 솔루션에 프로젝트를 추가해 줍니다.
dotnet sln add ./src/IdentityServer
여기서 ./src 폴더 위치는 임의로 추가된 폴더 위치입니다.
이제 프로젝트를 vs2022로 열고, Config.cs 파일을 다음과 같이 수정해 줍니다.
using Duende.IdentityServer.Models;

namespace IdentityServer;

public static class Config
{
    public static IEnumerable<IdentityResource> IdentityResources =>
        new IdentityResource[]
        {
            new IdentityResources.OpenId()
        };

    public static IEnumerable<ApiScope> ApiScopes =>
        new ApiScope[]
        {
			new ApiScope(name: "api1", displayName: "My API")
		};

    public static IEnumerable<Client> Clients =>
        new Client[]
        {
            new Client
            {
                ClientId = "client",
                AllowedGrantTypes = GrantTypes.ClientCredentials,
                ClientSecrets =
                {
                    new Secret("secret".Sha256())
                },
                AllowedScopes = { "api1" }
            }
        };
}
작성 후 빌드하고 실행버튼을 눌러 실행합니다.
디버그가 실행되면 다음 경로로 접속을 시도합니다.
https://localhost:5001/.well-known/openid-configuration
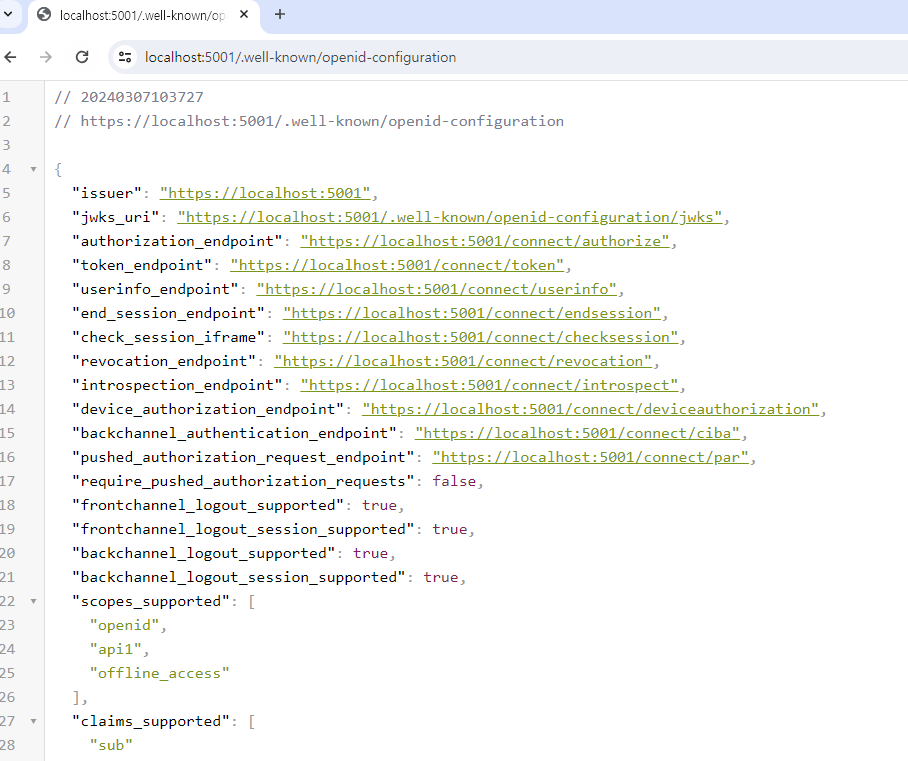
이렇게 나오면 초기 설치는 완료된 것입니다.
반응형
'개발이야기' 카테고리의 다른 글
| IdentityServer 학습 #3 (0) | 2024.03.07 |
|---|---|
| IdentityServer 학습 #2 (0) | 2024.03.07 |
| Blazor + Efcore로 웹사이트 만들기 (2) (0) | 2024.02.06 |
| Blazor + Efcore로 웹사이트 만들기 (1) (0) | 2024.02.05 |
| Apps로 구성한 nest.js를 한번에 실행시키기 (0) | 2024.02.02 |